General:
To create mitered borders for your quilt, you must measure your quilt’s length and width. This means you have to measure top to bottom and left to right.
Be sure to square up quilt before adding your borders. Doing so will ensure that your border is as even as it possibly can be.
 |
| Figure 1.1 |
See Method Two if quilt is larger than measuring surface.
Method One:
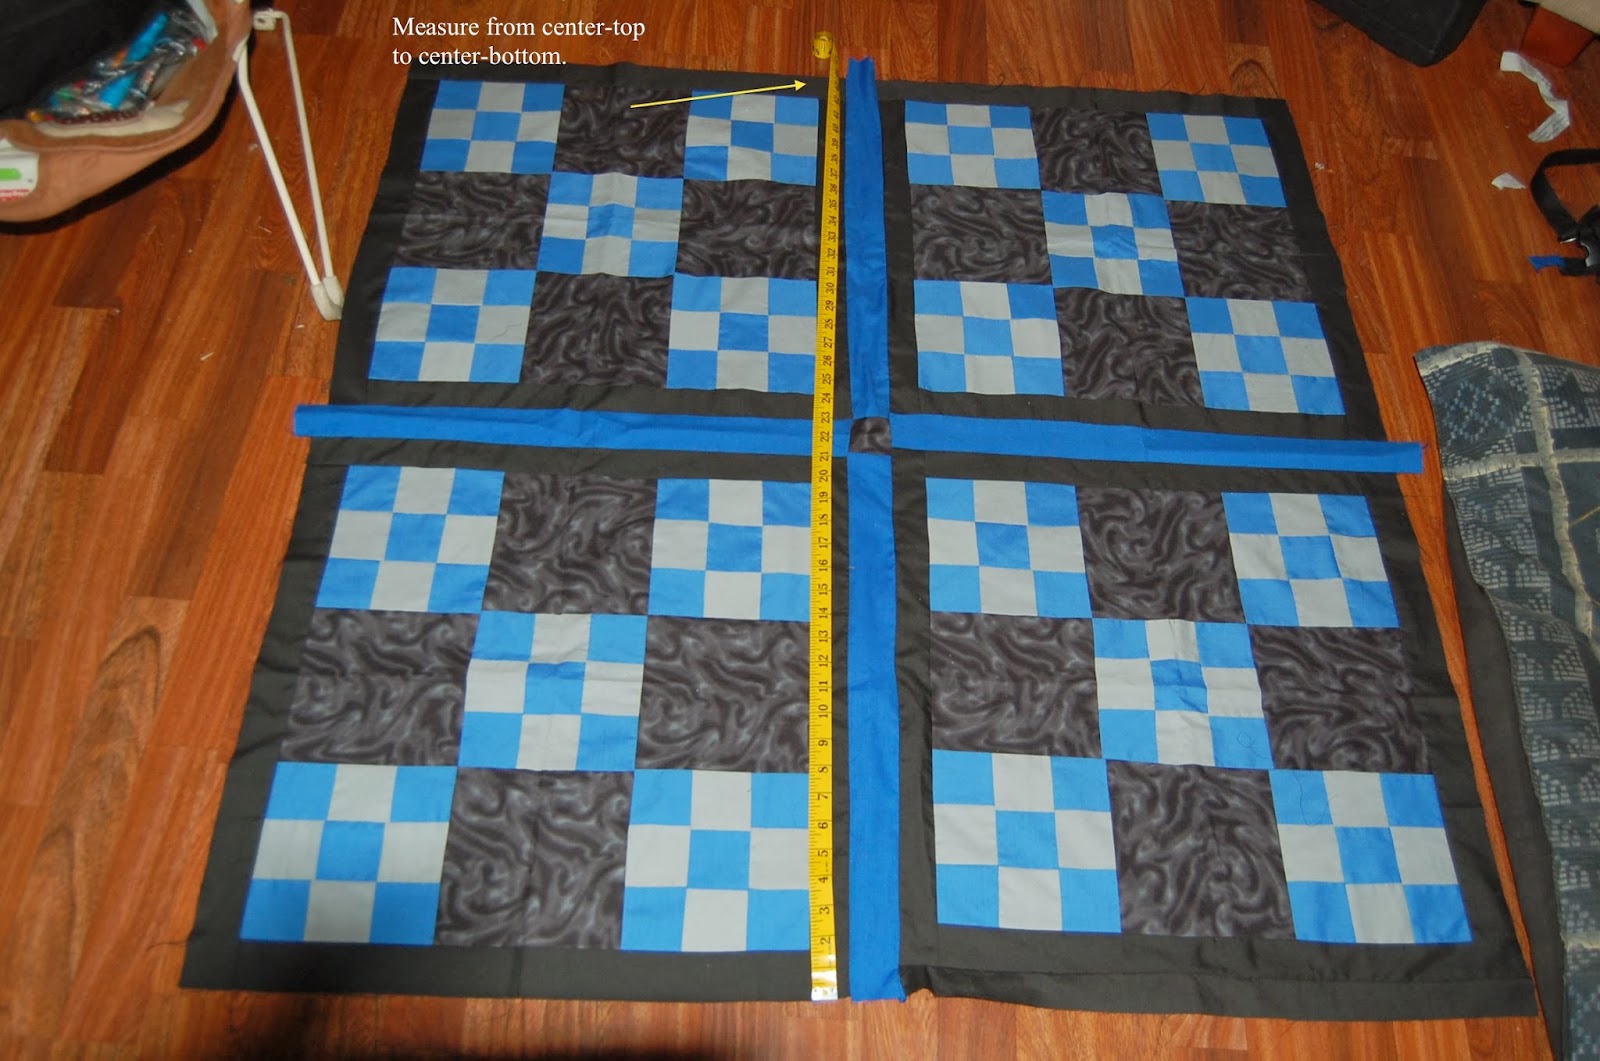
1. To measure your quilt top, first place your quilt top on a flat surface where it can lay without any puckering. I chose to use the floor, since my table is round. But you can use any table large enough. (Figure 1.1)
- Note: If your quilt is too big for the floor or a table, try pinning it to a wall.
 |
| Figure 1.2 |
3. With the start of the tape measure flush with the top of your quilt, measure from the center-top in a straight line to the center-bottom of your quilt. Record this number.
4. Next, place your measuring tape from center-right to center-left. Measure. Record this number.
Note: The two measurements, top to bottom and left to right, may be exactly the same or the may be different. Be sure you record this numbers in a safe place, you will need them to measure and cut the border strips.
Method Two:
If your quilt is too big to measure on a table, floor, or wall; this method is for you.
1. First, locate the center of your quilt and fold your quilt from top to bottom, vertically, on this center line (Figure 2.1).
- If you do not complete this step, your border may not be measured correctly.
2. With your quilt folded, lay the it on a flat surface (table or floor) with the right-hand edge up. Or you can pin it securely on a wall while still folded, with the right-hand edge up.
3. Next, measure from the center fold to the right-hand edge of the quilt. Record this number. (Figure 2.2).
- Note: This measurement is half of your quilt top measurement.
- I suggest measuring from the middle of your quilt to the edge of your quilt. But you can complete this measure from the center top of the quilt to the right-hand edge of the quilt as well.
 |
| Figure 2.1 |
5. Next, located the center of your quilt horizontally. Fold your quilt from left to right, horizontally, on this center line.
- Note: My quilt is a mirrored image on each side. This means the quilt top looks exactly the same no matter which way I fold it (horizontally or vertically). Your quilt may look different.
6. As before, measure from center fold to the right-hand edge of the quilt—horizontally. Record record this number
 |
| Figure 2.2 |
7. Flip your quilt where the edge of the quilt is facing the left-hand edge—horizontally—and repeat your measurement from the fold to the left-hand edge of your quilt. Record record this humber.
8. Now, you should have four measurements; both sides of the fold vertically and both sides of the fold horizontally.
- Example: Vertical right-hand measurement=24“ (VRM) and Vertical left-hand measurement=24” (VLM).
- Example Horizontal right-hand measurement=26“ (HRM) and Horizontal left-hand measurement=26” (HLM).
9. Add your vertical measurements to get your vertical quilt top measurement.
VRM + VLM = Vertical Quilt Measurement
10. Finally, Add your horizontal measurements to get your horizontal quilt top measurement.
HRM + HLM = Horizontal Quilt Measurement
Now you have your measurements. With these numbers in hand, we can measure and cut out our border.
3/11/2014
| Tutorials | Mitered Borders: Part II |
3/11/2014
| Tutorials | Mitered Borders: Part II |
No comments:
Post a Comment